

The pattern templates for the Christmas Decorations can be downloaded from the SHOP just select free patterns from the Menu.
Here is the tutorial for the free pattern download for four quick and easy to make Christmas tree ornaments. Tree ornaments can be expensive to buy and it is fun to make your own; mine didn’t cost me anything as I simply used materials that I already had left over from previous projects.

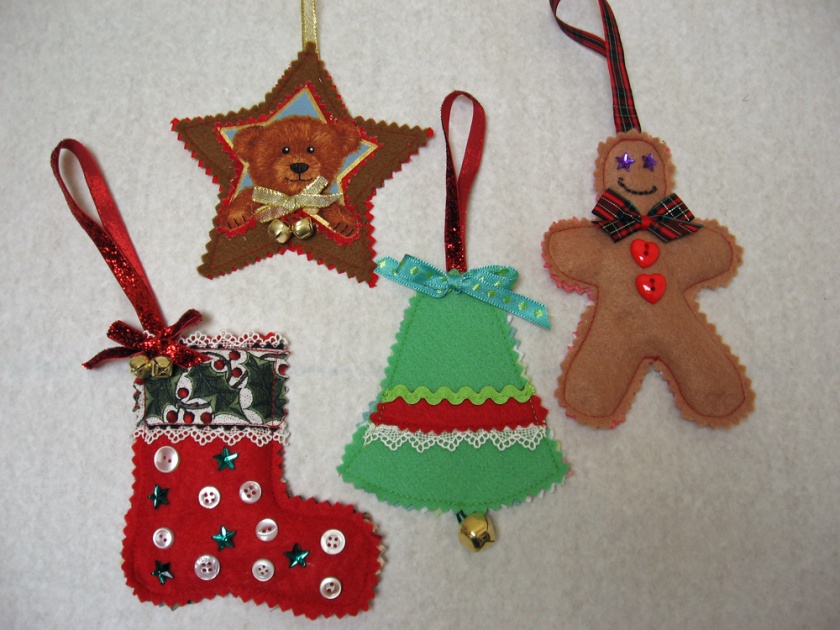
To Make the Christmas Ornaments.
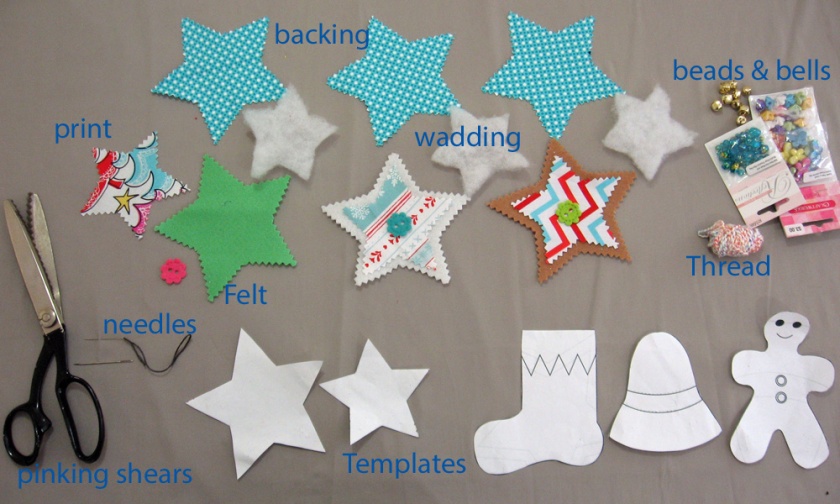
You will need some pieces of felt, print fabrics, polyester wadding, assorted buttons, lace, braids or ribbons, beads to thread, bells, sewing threads, fine string or thick thread for stringing beads. Tools required include pinking shears, plain scissors, regular size hand sewing needle and large eyed needle for threading beads, pins, craft glue, sewing machine and iron. You can also add stick-on sparkly thingies to catch the light and make them twinkle.
I have made my ornaments the quick way sewing by machine but if you are an experienced crafter you might like to sew them by hand. I have used pinking shears to cut out for machine sewing but if you are over-stitching the edges by hand cut them out with plain shears.
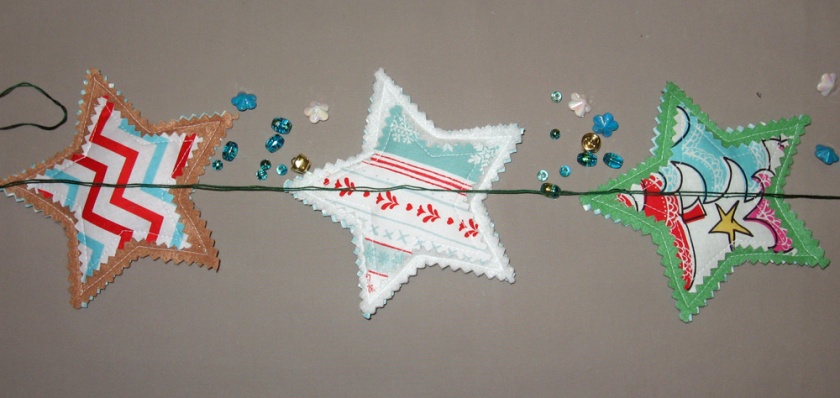
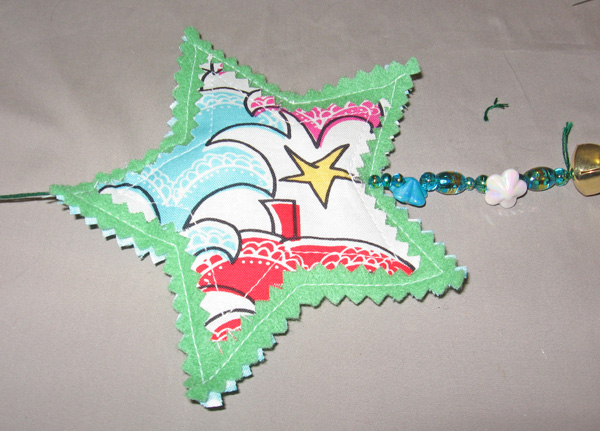
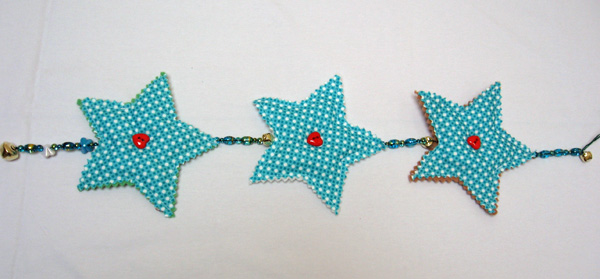
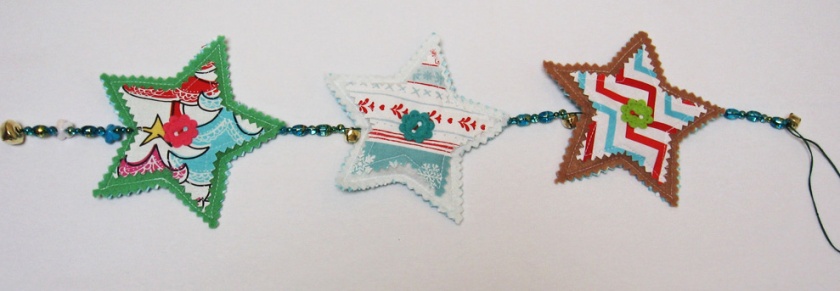
The tutorial shows how to construct the star and string 3 together with beads to make a long hanging ornament. All the ornaments are basically constructed in the same way so follow the star tutorial to make the boot, bell and ginger bread man. Any trimmings that need to be machine stitched onto the backs or fronts of the shapes is best done before joining at the edges. Hand sewing or gluing buttons, beads etc should be done after the shapes are sewn together with the wadding inside. For the single ornaments a hanging loop can be stitched in when sewing the parts together.
Making the ornaments:
Print and cut out the templates; for the stars cut out both sizes.
The photo shows the basic components for one ornament: felt front piece, print centerpiece, backing print, wadding, centre buttons and string for hanging.
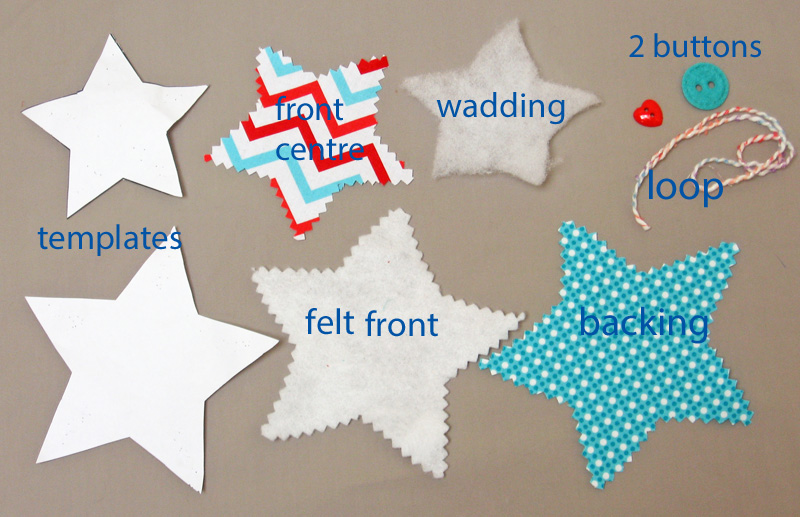
Using pinking shears cut the large star in felt and backing print and use the small star to cut the print fabric for the centre front and the wadding.
Below are all the parts needed for the 3 star ornament, plus you will also need to add 3 more buttons for the backs of the stars.
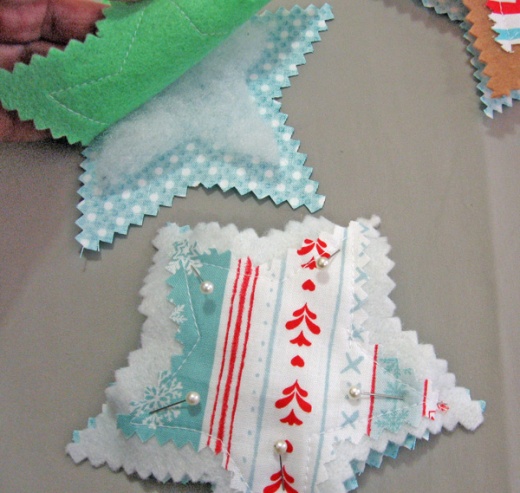
Sew the smaller centre print star shape onto the larger felt shape using a plain machine stitch.
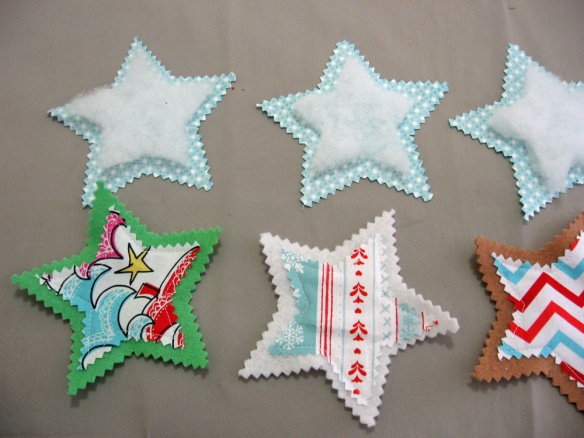
Make a sandwich with the backing, wadding and felt, pin to hold and stitch together around the edges.


These are adorable,Thank you so much for sharing for free,can’t wait to do them.Sheila
LikeLike
Just what I needed. Thanks
LikeLike